Nanaimo paving stone patios and walkways
We are your best choice for professional paving stone installation in Nanaimo and mid island
Whether you need a full driveway installation, a paving stone walkway or just a repair of a small area, our team can help. We have over 20 years of experience when it comes installing paving stone, and its also some thing we love to do. The creative opportunities when it comes to paving stone are endless, and with our unique installation techniques, you will be very happy for many years to come
20+ years of installing paving stone, and we have never had to go back and do a repair!!
Paving stones are a good way to get a long-lasting patio or walkway in Nanaimo BC. When installed correctly they can often add value to your home.
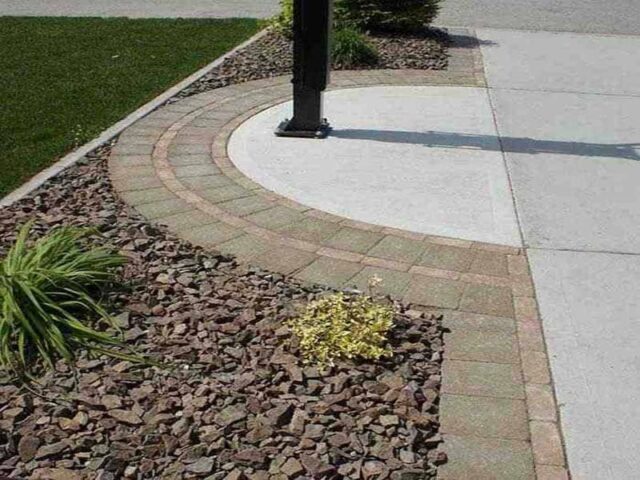
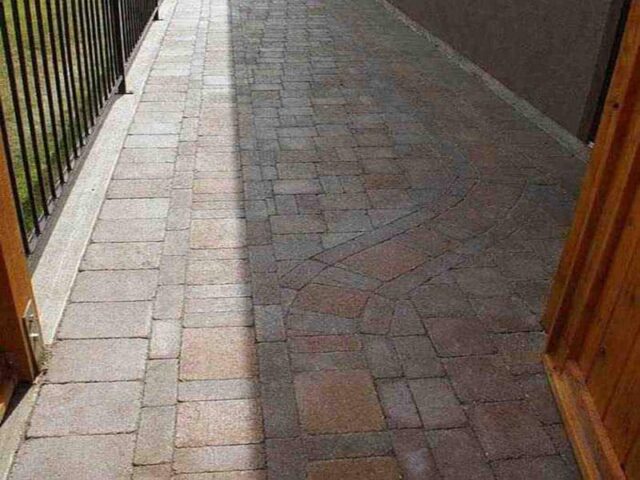
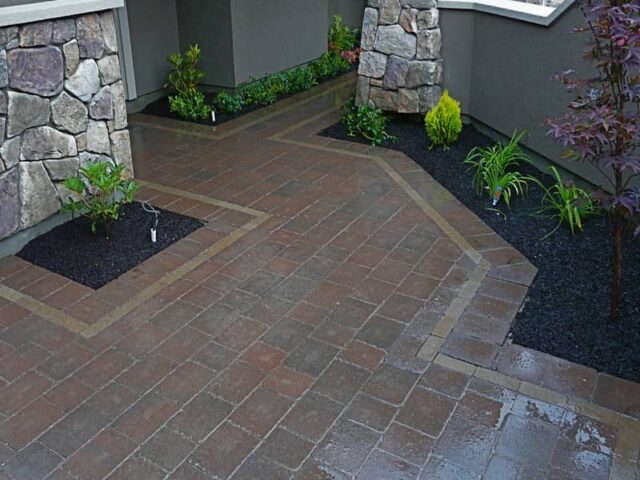
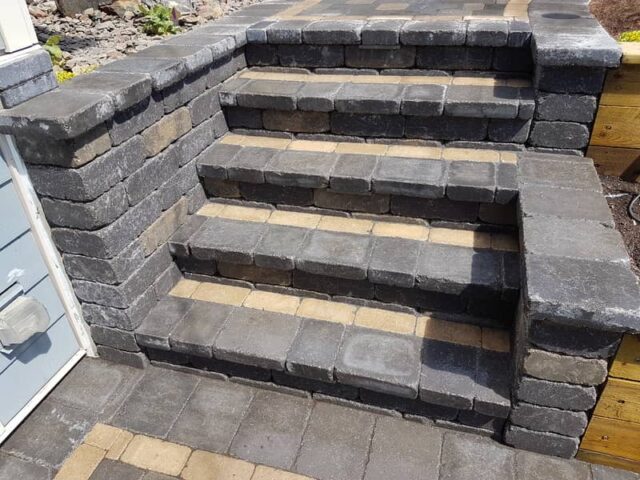
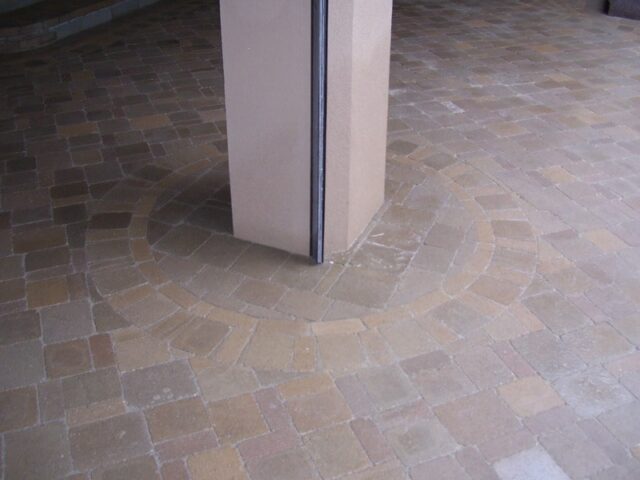
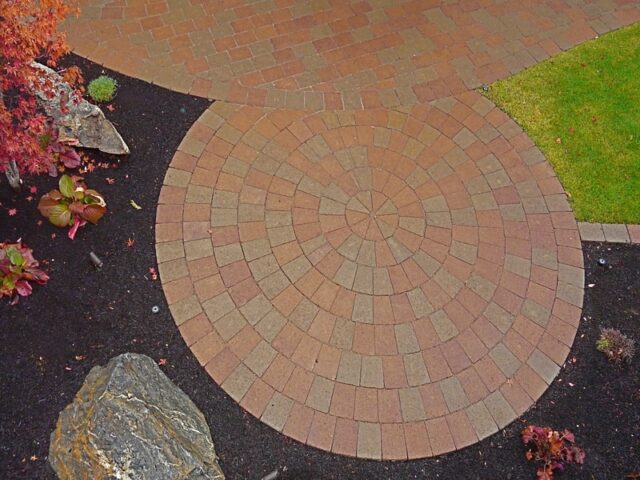
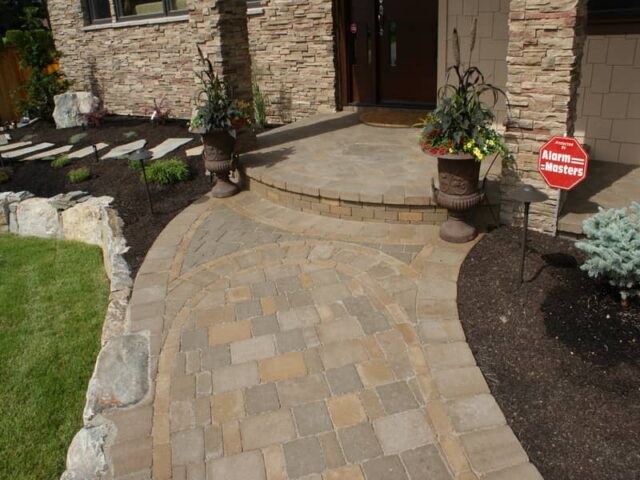
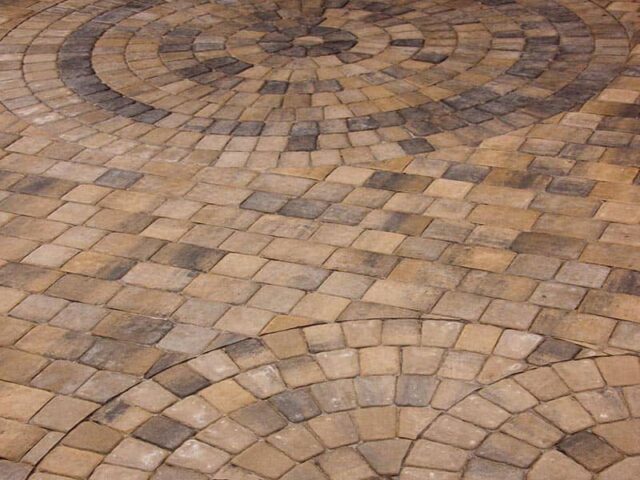
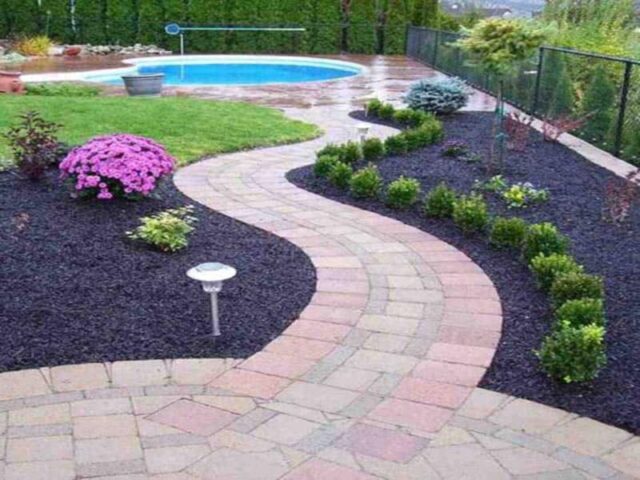
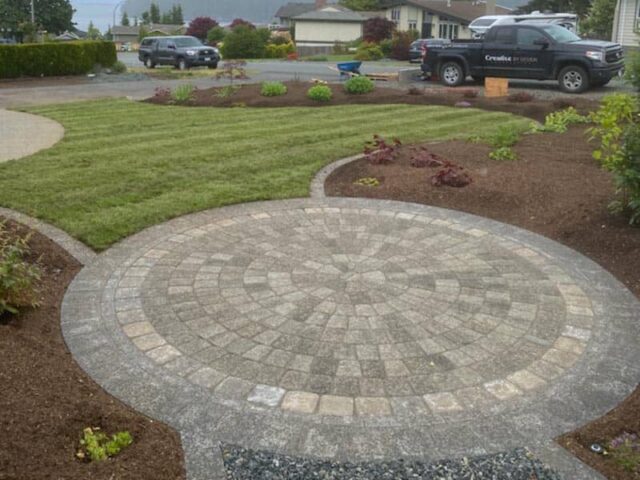
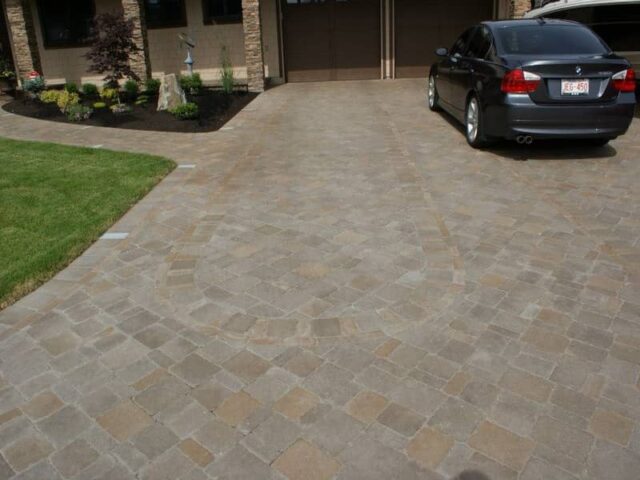
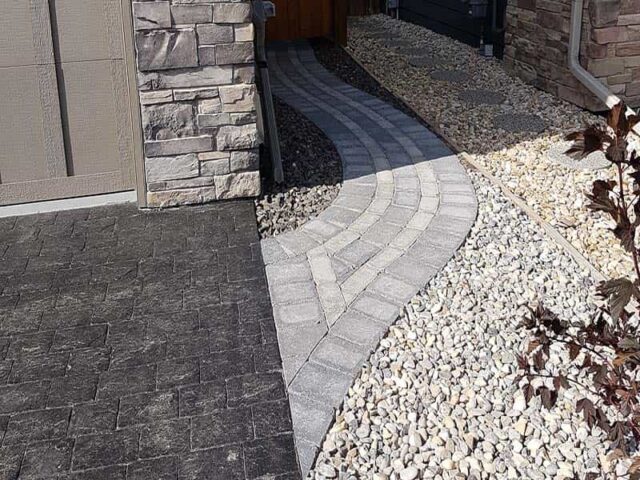
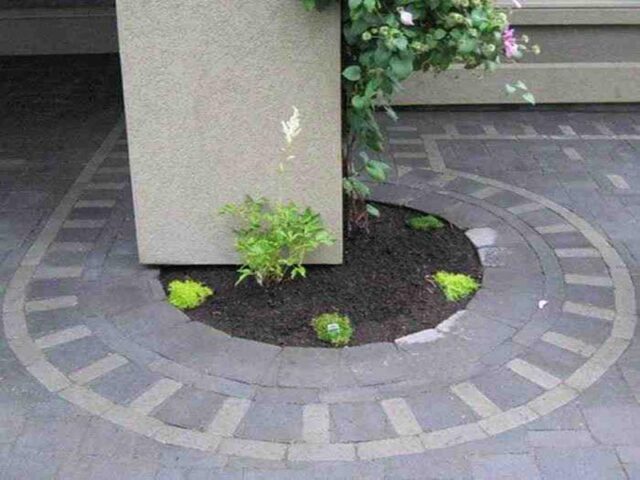
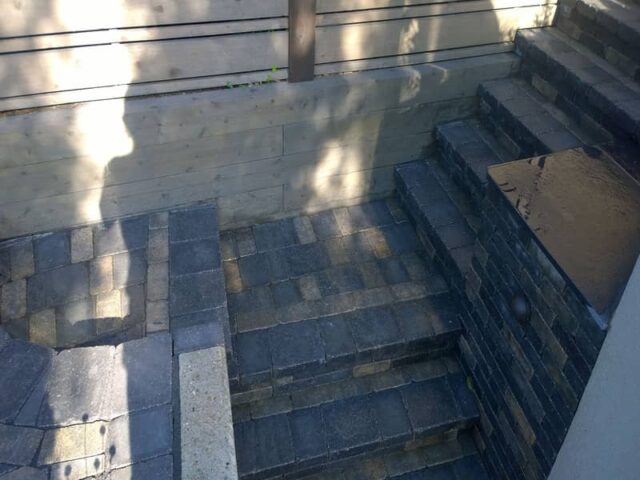
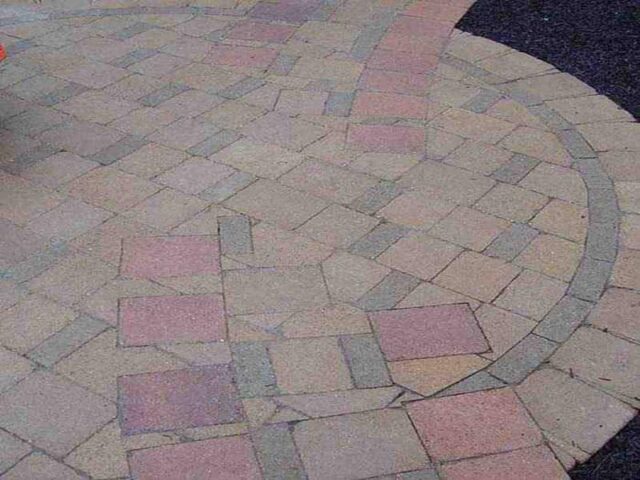
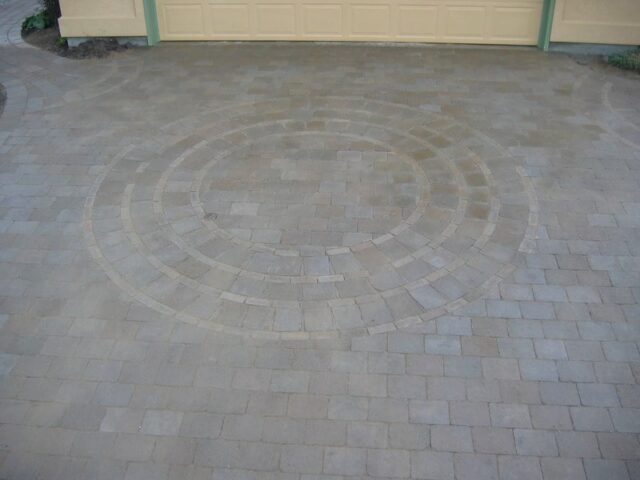
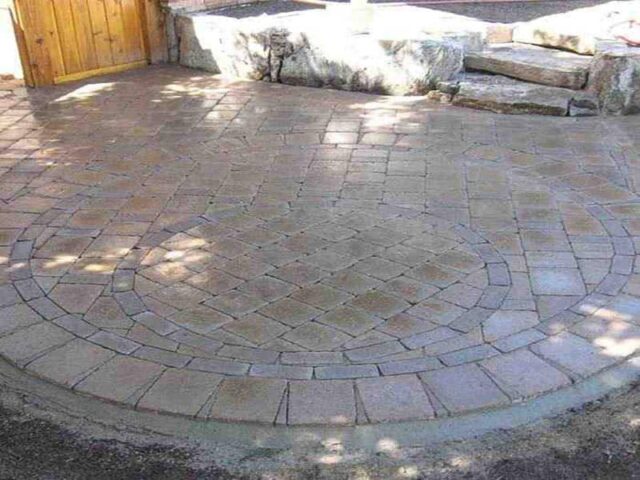
You can use paving stone for many different purposes such as paver patio, driveway, walkway as well as steps and brick paver-edge. Paving stones are a great way to be creative with your hardscape.
What makes laying paving stones better for hardscaping than other products on the market, such as aggregate and stamped finish. The truth is that paving stone can take water over the surface area, which allows for drainage immediately, unlike concrete. Paving Stones are easy to repair quickly if anything was to happen ie chipped, cracked or sank. This option is not possible with concrete as once it cracks there isn’t any way of repairing that will last.
When building a paving stones patio or walkway there are many things to consider, Design, Area, Location, Slope, etc. Putting extra effort into all of these areas will only give you a better and long lasting paver patio, that will last you for many years to come. More and more homeowners around Nanaimo, are replacing there existing concrete hardscapes with paving stone to get a better, unique and longer lasting hardscape. Paving Stone built and installed correctly will always be superior to a concrete product on the market.
How do i choose paving stones?
When it comes to paving stone, there are many brands, styles and finishes to choose from. We can help you decide what brand and which style would work best for you. One of the biggest things to consider is, what would match best with your home and also any other hardscapes you already have ie walls, existing surfaces etc. Check out Barkman, Expocrete, New stone and Techo Bloc pavers to see an extensive choice.
Building paving stone hardscapes that last!
We have been using a tried and tested method for the last 10+ years, which has proven to stand up to the test of time. Using this paving stones installation method we can ensure that you will have a patio, driveway or walkway that you will enjoy for many years to come. Our installation ‘step by step’ process is below, showing what goes into a hardscape.
What makes a good paving stones installation
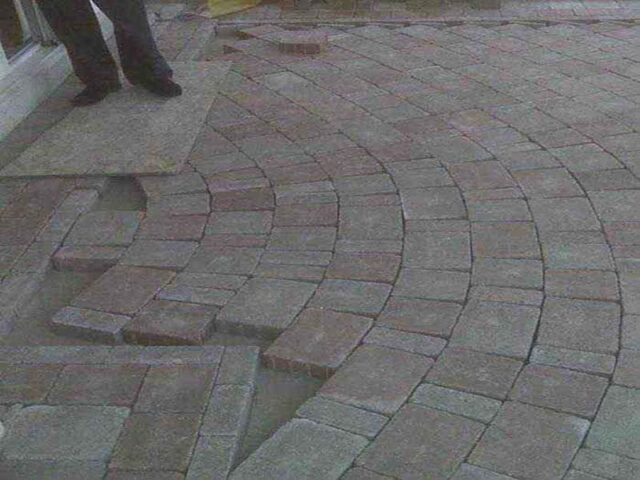
One of the biggest failings in any installation is lack of prep-work. Creating a good solid base will instantly give you better longer results. This achieved by making sure there is no organic matter under your finished product ie loam. Getting right down to the clay before compacting a crush base means less movement over time. Also using the least amount of sand possible will also give you longer results. Sand isn’t a stable structure and you cant compact it, so having the least amount under your paving stones will benefit you in the long run. We like to keep it down to 1/4″-1/2″ maximum. Also we have found that having a clean edge of concrete around the patio will keep it strong for longer than plastic edging. it not only keeps the pavers in place, but also keeps everything under the paving stones which helps for longevity.
How much does a paving stone installation cost?
Numerous factors influence the pricing of a paving stone patio, which complicates the ability to offer a fixed price per square foot. Paving stone patio’s that are less than 500 square feet, typically costing between $28 and $34 per square foot, over 500sqft usually $30 to $48 per sq.ft.
Below are some points to consider when determining the pricing:
Unlevel Yard (Elevation Changes) – Extra time and materials for the patio installation maybe required if there are alot of grade changes in your property.
Curves vs. Straight Edges – The shape of the patio will dictate the quantity of cuts required. Alot of cutting will result in higher overall price.
Access – A 4-6 inch base of crushed gravel is the base of all our paver patio’s as well as the paving stones needed for the patio. Problems with access will increase the time required to transport materials for the project, also adding cost
Existing Material Removal – Heavy machinery maybe required to excavate the area if the existing area is compacted or dense.
There are several options available for creating a paver area on your property in Nanaimo BC. The advantage is that you likely already have a specific purpose in mind for your patio. Whether you envision it as a venue for summer gatherings or as a low-maintenance functional space, Paver’s can significantly enhance your yard.
Below are some considerations to keep in mind while planning your paver patio. The cost of a paver installation in Nanaimo BC can vary based on the design you choose. One of the primary decisions you will encounter when designing your paver patio is whether to use smaller pavers or larger slabs. Another option for a patio is to build it with natural stone: