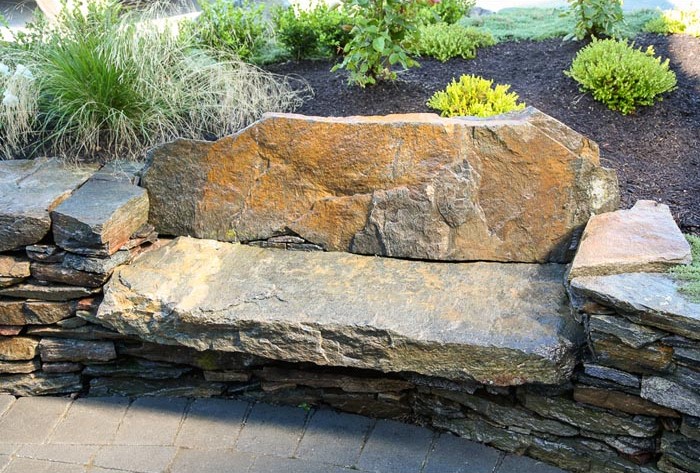
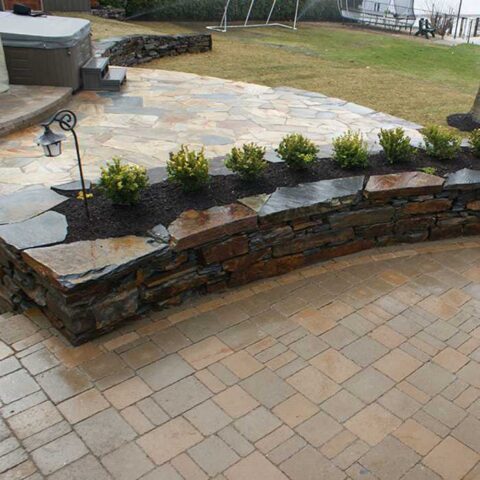
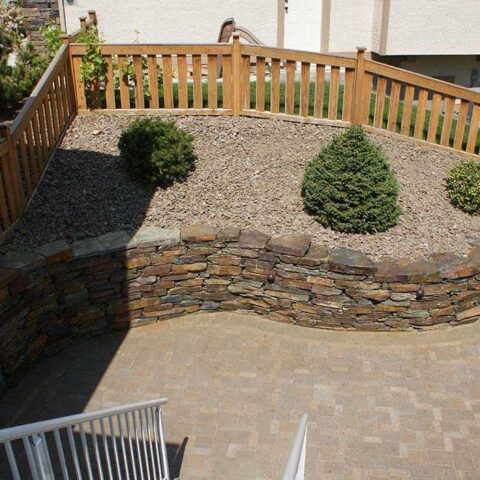
At Creative By Design, we thrive on design and installation of retaining walls for residential and commercial applications. We also repair as well as install retaining walls
We specialize in building beautiful and elegant retaining walls using interlocking wall blocks, rock and timber. whether your looking for a structural retaining wall or something aesthetic for the garden, our team has the expertise to help.
With our design process and wall building expertise, we are able to overcome many of the challenges that may present themselves on any project, while staying within an affordable budget.
We are your professional local wall building contractor, when it comes to any retaining wall services in Nanaimo and Vancouver Island.
Contact our office and arrange an appointment to start your wall project.
We offer:
- Licensed and 10+ years of experience
- Professional and reliable
- Certified with Allan Block
- Estimates with Detailed breakdowns
- High quality installations
When it comes to sloped properties in Nanaimo, the best option is to build a retaining wall. By doing this we are able to create some level useable space for you, in your property. There are many options when it comes to building walls from the most common option being Allan block or interlocking wall block. However there are stack stone or boulder options, or concrete and wood.
How much is it to build a retaining wall?
When it comes to cost for retaining wall building, there are several factors to consider ie. access, amount of excavation and how much prep work is required before hand.
When building any wall, usually the majority of the work is building the base. After that the next consideration is what style of wall to choose. Remember, straight walls are often the cheapest, compared to curved walls. Most walls require an engineer and planning after a certain height, in accordance with local bylaws. This will also affect cost and will need to be addressed before an accurate quote can be created.
Interlocking style walls usually cost around $65-95 per square foot. Stack stone will be more, but depend on the stone choice. Boulder walls and wood walls will be cheaper again but wood can only built to a maximum height of 2ft. Any poured concrete walls would be outsourced to a separate contractor.
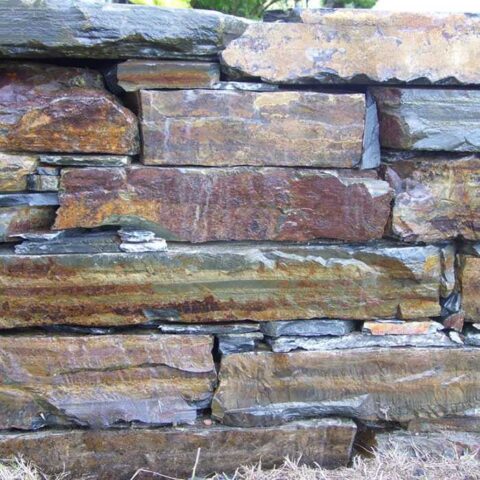
What are stack stone rock walls?
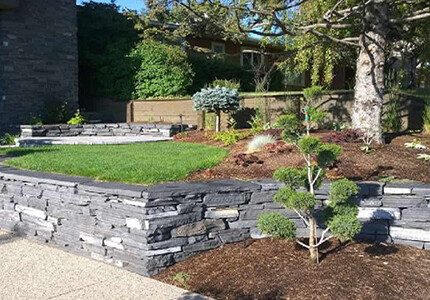
Stack stone or flagstone is a type of flat sedimentary stone that is usually delivered on pallets, and has been pre-graded by the supplier. It is usually more expensive than most stone, as it has passed through many hands to get onto the pallet, therefore being more money. Having said that, with it having been pre-graded, you can stack it and get more unique shaped and angles from it, that you might not get from Granite boulders. You can find lots of selection from your local Nanaimo BC rock supplier
What Are Granite Walls?
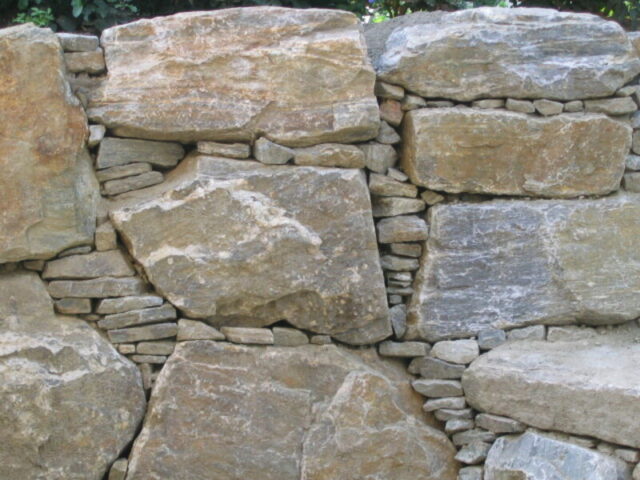
Granite is normally graded in either weight or by the foot i.e 1-2ft boulder, 2-3ft boulders. This natural stone material is more rugged in shape, and your local Nanaimo BC rock quarry will likely blast it out of the side of mountains and then send it to you or the supplier in trucks. Shapes are irregular and harder for building with rock. Most of the time to build any substantial sized rock retaining wall, you’ll need machinery like a bob-cat or excavator.
If your lucky sometimes you can find a Nanaimo BC rock quarry that doesn’t blast the rock, they actually chisel the rock using jackhammers on the front of big excavators. If this is the case, then you can get much more squarer shaped boulders, which will give you nicer finished product. They usually have more straighter edges, which lend themselves to a nicer ‘finished’ look.
How to build rock retaining walls in Nanaimo BC
1. Planning and Location of your rock walls
When building rock walls, first you have to know where your going to build the retaining wall, as well as how you will get access from one side to the other once it is built. This may require steps or a slope to be included in the building of this retainer. When deciding that, it is best to consider what is around you, and what will be your most direct route of travel. Do you need to get to a shed or a lower patio? if there is a shed, then maybe consider where the lawn is in relation to it and do you need to get a lawnmower to the upper level. Do you need access to the lower side with a wheel barrow for the planting bed? These are all thing to consider when looking at installing any retainer.
Another thing to consider with retaining walls would be, does it have grass backing it. This can be a maintenance headache when it comes to mowing and using a weed whacker as you can’t get in between the boulders. In one installation, the homeowner got us to fill the gaps with smaller rocks, and concrete them in place to prevent this problem. that takes a lot of time and can be avoided if you design your outside using planting beds on both sides.
2. Building the Rock Walls.
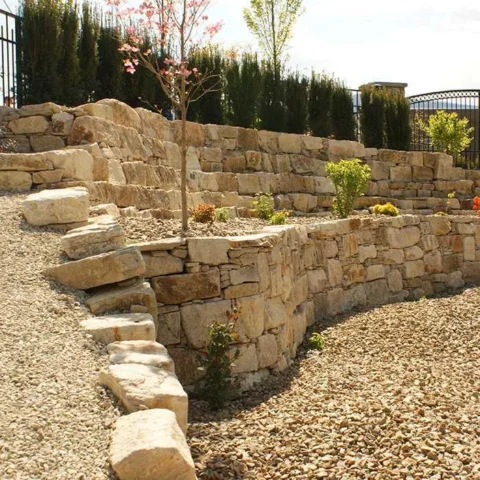
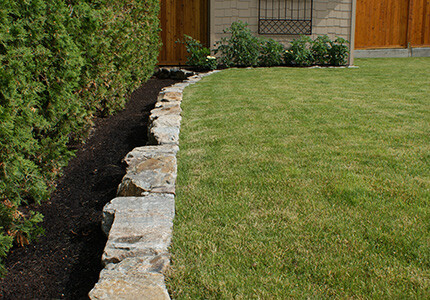
When building rock retaining walls in Nanaimo BC, the first thing to do is to mark out where you want them to be. Then it is best to figure out what the finish grade of the lower area will be, as well as where the top will be. You should already know this, as you will have had to figure out how much rock you need to build the retaining walls. Also check your local Nanaimo BC bylaws and utilities to make sure your abide by all and codes when building walls
When it comes to actually building the boulder retaining walls and you have your grades and location figured out, take a look to check the rock dimensions. With this you can figure out how wide the ‘footing’ needs to be. Typically, if i am using 1-2ft rock, then i would have a footing of about 2-3 ft wide. The footing should be dug out down to clay if possible and compacted in layers using a plate tamper or large hand tamper. Soaking the crush gravel before compaction is always a good idea also. If you have any irrigation or lighting wires to go underneath the footing, then adding some sleeves for them at this time will make your life easier later.
For a good footing I would have it start 4-6″ in front of the wall position and make sure its below finished grade. It is beneficial to have a good few inches of your wall buried, to help prevent pushing out. Having it slope back slightly will also help for strength also. If you are worried about drainage then adding drainage behind the wall can be beneficial also, just make sure you have a point to quietly exit that drainage too.
As you start building, try to keep an eye out for extra nice pieces of rock that would make for nice corners or finishing caps. These should be put to one side, for when you get to the end or to the corners. Any wall can look good or functional once finished, but a wall that has crisp corners and a flat top, will always look more eye-catching once complete.
Whether you are building out of granite or flagstone, make sure that each rock is exactly where you want it before moving to the next one. Making sure each rock is not moving and backed in crushed gravel will only make things easier as you get higher. Taking time to completely fill the back of each row, soak and gently pack the crush will only make for a stronger base for the next row as you progress. Check to make sure the wall as a consistent back lean regularly, you don’t want to have to adjust rocks later.
Once you get to the last row of rocks, you may want to stop with the crushed gravel and fill any gaps in the back of your wall with a mix of gravel and small rocks/boulders. This is so you can have top soil right to the back and not have any of the crush showing once finished. the small rocks that fill the gaps of the last row will help to keep soil in place. This last row maybe more frustrating than the rest if you are going for the ‘level’ ‘finished’ look, but if you have saved yourself a number of flat rocks with nice edges, then its just a case of trial and error, till you get the top row looking how you want.
Once everything is built, it is time for filling the small gaps. This may seem as a tedious and painstaking task, but it only makes the retainer stronger. By filling in the smaller gaps with small rocks, there is less chance for movement, movement of the rocks and of the material behind. It is up to you how detailed you wish to be with this process, obviously the longer you take the better it will look. I have done some walls where all the small rocks had to be stacked neatly in the gaps. This process took forever and required alot of patience, but once finished, it really made everything stand out.
