How to improve soil quality in garden
Better soil will give healthier plants
Perhaps the most important quality of topsoil is that it is packed with nutrients, to nourish plants and help them to grow.
The majority of the nutrients in our topsoil are naturally provided by our soil’s organic matter – things such as worms, insects, broken down foliage etc, as well as lots of microorganisms.
Get to know your soil?
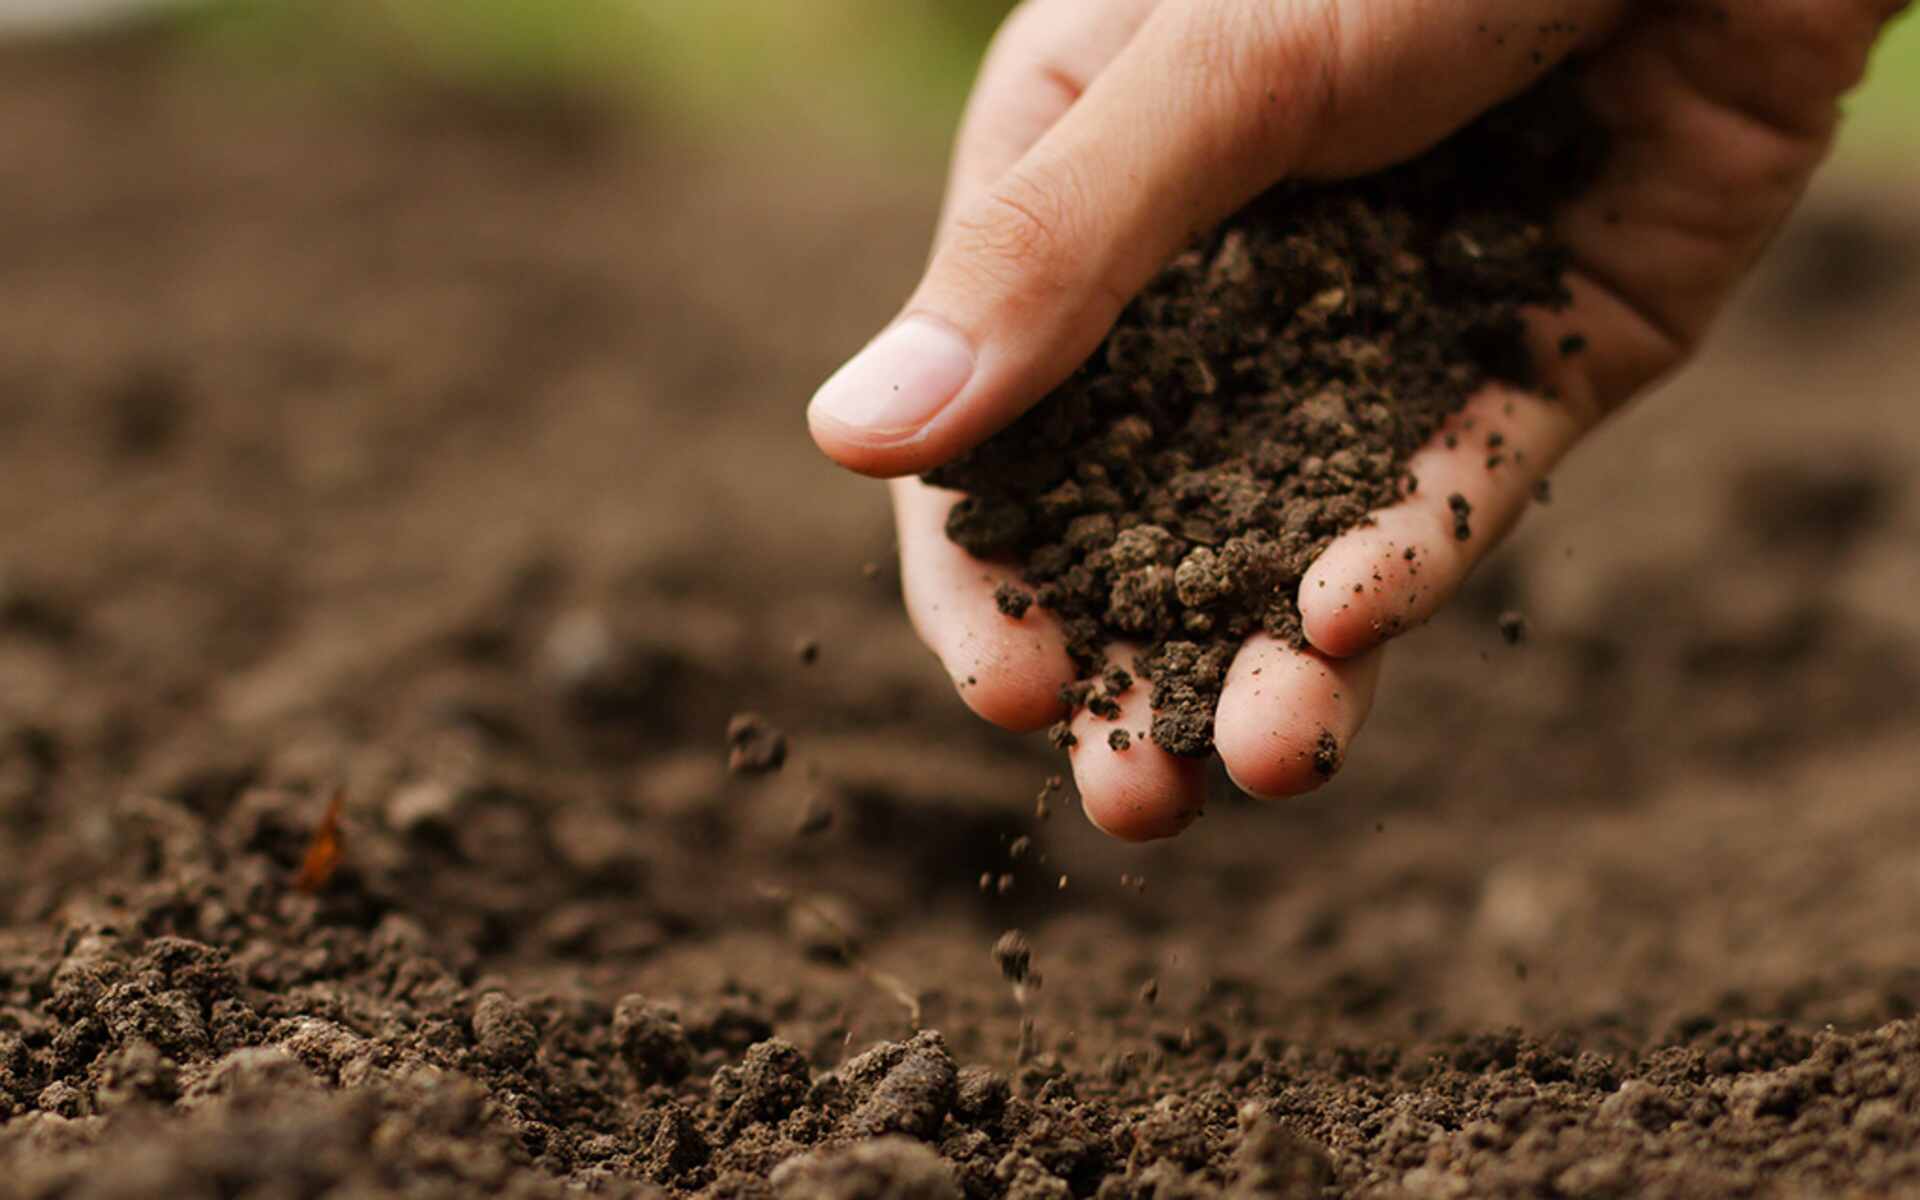
A thriving garden starts with knowing your topsoil type. Plants require food (nutrients) to thrive just as we do, promoting healthy growth and giving us that colorful display or bumper crop of fruit or vegetables we desire. For the better matched the plant is to the growing medium the healthier it will be, helping to avoid disease, insects or fungus.
It is never too soon or too late to test your soil composition and is so easy. I purchased a kit from Buckerfield for around $30. It comes complete with everything you need. Everything is colour coded, including the comparator films and capsules for easy use. Also included is a planting pH preference list for the gardener.
A soil tester should be used periodically to ensure there is a balance of nutrients to support life. It is especially important in the spring before you get going in the garden, to see if you need to amend the topsoil for better growing results.
How to test your soil
If your current garden is showing signs of stress then it is equally important to check it, after you have eliminated other problems that could correlate to stress. eg…poor topsoil drainage, insufficient sunlight, insects or disease. These issues will also cause leaf discolouration and stunted growth as well, so rule them out first before you conclude it is the soil. Most gardens in Nanaimo do require amendments periodically as the nutrients are used up by plant consumption and nutrients leaching out from natural seasonal changes, such as seasonal rains. A periodic test kit will let you catch nutrient deficiencies before they adversely affect your shrubs. Besides indicating nutrient deficiencies, this can also provide information on acidity, the percentage of organic matter in your topsoil, and the texture.
Proper testing = True Validity of Results
The results validity depends on your sample collection. If you are testing your lawn then only take samples from the lawn. Do not take samples from the vegetable or flower garden areas as the soil could and probably is different. To test your lawn, use a shovel and slice through the grass up to 6 inches deep. Roots naturally grow 4 to 6 inches deep so digging this deep will give you a true picture of the nutrient base. Make sure to take several samples throughout your lawn area and mix them in a clean container. A typical sample requires 1 cup of topsoil so mix your samples together and add bottled, distilled or spring water. Do not use treated tap water as it will skew your test results.
If you are checking your vegetable or flower garden area, then repeat the above instructions and yes, these samples can be added together to give you an accurate picture of your composition. Making sure to discard stones, sticks, insects or other debris in your samples before you test.
At the very least, check your pH, which is a measure of how acidic it is. If the pH level isn’t in the correct range, plants cannot take up nutrients in the topsoil. You should also look for phosphorus and potassium because plants require both of these nutrients in relatively large amounts. A complete checkup would include tests for nutrients that are essential but needed only in minute quantities, such as iron, manganese, and zinc. If you regularly enrich your soil with an abundance of compost and other organic materials, micro nutrient problems are unlikely.
Topsoil pH testing – to ensure an accurate result do not touch it with bare hands. Add topsoil to the pH compartment container to the fill line. Then add the PH powder capsule to the container and add water to the fill line. Shake it and let it sit for a minimum of 30 minutes. I try and leave it overnight for up to 24 hours to let it settle.
The other three test compartments are for testing Nitrogen, Phosphorus and Potash. For these tests with the remaining samples you have mixed together, add 5 cups of water. Use the 1 part to 5 parts water as a basis for true results. Shake or stir well to ensure it is well mixed and then let it settle until the sediments have settled to the bottom. I try and leave this mixture to settle overnight to give a true result. Use the dropper provided and add the liquid only from the topsoil and water mix to each compartment matching it to the colour coded capsule. Add the capsule to the compartment and shake thoroughly…it will settle within 10 minutes and allow you to read the colour coded results.
The test kit comes complete with easy to follow instructions and easy colour coding to read the results. Knowing your topsoil for lawn composition correlations to a happy growth for any lawn or garden area. It takes the guess work out, saving you time and money and helping to ensure they have the nutrients they need.
pH – Plants need the correct pH level (which is to check on its acidity/alkalinity) which controls how well the they utilize the nutrients available. All plants have a pH preference so it is important to know your ph reading in order to either amend the existing or match the correct crop to the pH level.
P – Phosphorus is required for growing plants…it is the major constituent of plant genetics and seed development. A deficiency causes stunted growth and seed sterility. It aids them in maturity, increase yield and maturity, increases vitamin content and aids in staving off pest, diseases and winter kill.
K – Potash strengthens the plant, it helps form carbohydrates and promotes synthesis…better tasting fruits and vegetables, more vivid flower colours, aids in early growth, aids in maturity, stem strength and cold hardiness. Deficiencies in potash are usually stunted in size, growth, poor yields, have poor root systems and may have leaves that are spotted, curled and/or dried out.
N – Nitrogen is synonymous with plant nutrition. It is directly responsible for producing leaf growth and green leaves. A deficiency cause yellow leaves and stunted growth. Too much nitrogen causes overabundant foliage with delayed flowering; they becomes subject to disease and its fruit is of poor quality.
Plants are very forgiving and will recover quickly from deficiencies if caught early. The best way to ensure a healthy plant is to test at the beginning and/or regularly. Organic amendments regularly will help to ensure a natural balance in your black earth. If you have any questions, talk to a top soil professional in Nanaimo.
Keep adding organic matter to improve your soil
Topsoil has an ecosystem all its own. It is very much alive and supports many life forms. From the tiny microscopic organisms we cannot see to the plants we grow, and of course to the bugs and insects we can see. Earthworms, insects, reptiles, nematodes, bacteria and fungus all reside in it. This ecosystem of life supports the composition helping with decay and nutrient cycles.
You have probably heard people, say that earthworms in the garden is healthy. This is true. Earthworms tunnel through it. As they feed, organic matter passes through their bodies and is excreted as granular, dark castings. This enhances and adds to the structure as it mixes with it and breaks down. Earthworms also eat microorganisms that cause plant disease.
You will probably be surprised to find out what its made of. Beneath the ground surface the topsoil is full of living organisms that interact in a finely tuned living system but on a percentage basis, topsoil is mostly minerals weighing in at a whopping 45%, followed by air at 25% and water at 25%. The biological component (the balance of nutrients that is required to support healthy plant growth) is only 5%. But it is a very significant 5%.
For more info, visit our